

If you are a fan of succulent and juicy whole chicken, then you are in for a treat! The Ninja Foodi Air Fryer is your secret weapon to perfectly cooked chicken every time. With its state-of-the-art technology, you can achieve that crispy skin and tender meat without the hassle of deep frying or oven baking.
One of the great things about using the Ninja Foodi Air Fryer is its versatility. You can cook a whole chicken in various ways, such as roasting, grilling, or even air frying. The choice is yours! No matter which method you choose, you can be sure that your chicken will come out deliciously flavorful and evenly cooked.
So, how do you cook a whole chicken in the Ninja Foodi Air Fryer? It’s quite simple, really. Just follow these easy steps and you’ll have a mouthwatering chicken dinner on your table in no time.
First, start by preparing your chicken. Rinse it thoroughly under cold water and pat it dry with paper towels. Season the chicken generously with your favorite herbs and spices, such as salt, pepper, garlic powder, and paprika. Rub the seasoning all over the chicken, including the cavity and under the skin.
Preparation for Cooking Whole Chicken
Before cooking a whole chicken in your Ninja Foodi Air Fryer, it’s important to properly prepare the chicken to ensure delicious results. Follow these steps for a tasty and juicy chicken:
1. Thaw the Chicken
Make sure the whole chicken is completely thawed before cooking. This can be done by either placing it in the refrigerator overnight or using the defrost function on your microwave. Thawing the chicken will help it cook evenly and prevent any potential bacteria growth.
2. Remove the Giblets
Check inside the cavity of the chicken and remove any giblets or organs that may be present. These can be discarded or saved for future use in other recipes.
3. Rinse and Pat Dry
Give the chicken a quick rinse under cold water to remove any excess blood or debris. After rinsing, use paper towels to pat the chicken dry. Removing excess moisture will help the skin get crispy during the cooking process.
4. Season the Chicken
Generously season the chicken with your choice of herbs, spices, and marinades. You can use a premade seasoning blend or create your own flavorful combination. Ensure that you season both the inside and outside of the chicken for maximum flavor.
5. Truss the Chicken (Optional)
If desired, truss the chicken using kitchen twine to help it maintain its shape during cooking. Trussing involves tying the legs and wings of the chicken together to create a compact shape. While it is not necessary for cooking in the Ninja Foodi Air Fryer, it can result in a more visually appealing presentation.

By following these preparation steps, you’ll be well on your way to cooking a delicious whole chicken in your Ninja Foodi Air Fryer.
Steps to Prepare the Chicken for Cooking
Before you start cooking the whole chicken in the Ninja Foodi Air Fryer, it is important to properly prepare it. Follow these steps to ensure that your chicken is ready for cooking:
1. Clean the Chicken
Remove any packaging or wrapping from the chicken. Rinse it thoroughly under cold running water to remove any dirt or debris. Pat the chicken dry with paper towels.
2. Season the Chicken
Season the chicken with your desired spices. You can use a premade seasoning blend or create your own by combining herbs, salt, pepper, and other spices. Make sure to season both the inside and outside of the chicken.
3. Truss the Chicken
Trussing the chicken helps it cook evenly and maintain its shape. Use kitchen twine to tie the legs together and tuck the wings underneath the chicken. This will ensure that the chicken maintains its moisture and cooks uniformly.
4. Let the Chicken Rest
Allow the seasoned and trussed chicken to rest at room temperature for about 30 minutes. This will help the flavors penetrate the meat and result in a more flavorful dish.
By following these steps, you will have a properly prepared chicken ready to cook in your Ninja Foodi Air Fryer. The preparation process ensures that the chicken cooks evenly, is flavorful, and has a beautiful presentation. Now, you’re ready to start the cooking process!
Marinating the Chicken
Before cooking the whole chicken in your Ninja Foodi Air Fryer, it’s a good idea to marinate it to infuse it with delicious flavors. Marinating the chicken will not only enhance its taste but also help to keep it moist and tender during the cooking process.
Start by choosing your favorite marinade or make your own at home. You can opt for a simple combination of olive oil, lemon juice, garlic, salt, and pepper. Alternatively, you can experiment with different herbs, spices, and sauces to create a unique flavor profile that suits your taste preferences.
Once you have prepared the marinade, place the whole chicken in a large ziplock bag or a container with a lid. Pour the marinade over the chicken, making sure it is evenly coated on all sides. Seal the bag or cover the container and place it in the refrigerator.
Allow the chicken to marinate for at least 2 hours or overnight for maximum flavor. During this time, you can occasionally flip the chicken or gently massage it to ensure that the marinade penetrates every part of the meat.
When you are ready to cook the marinated chicken in your Ninja Foodi Air Fryer, make sure to remove it from the refrigerator and let it come to room temperature for about 30 minutes. This will ensure even cooking and prevent the chicken from drying out.
Marinating the chicken before air frying it in the Ninja Foodi Air Fryer will result in a moist and flavorful dish that you and your family will love.
How to Marinate the Whole Chicken
Marinating the whole chicken is a key step in enhancing its flavor and juiciness. With the Ninja Foodi Air Fryer, you can easily marinate your chicken before cooking it to perfection.
1. Choose the Right Marinade
There are endless options when it comes to choosing a marinade for your chicken. You can opt for a simple marinade with basic ingredients like olive oil, garlic, salt, and pepper. Or, you can get creative and experiment with different herbs, spices, and sauces to create a more complex flavor profile. Some popular marinades for chicken include lemon-herb, barbecue, teriyaki, and honey mustard.
2. Prepare the Chicken
Prior to marinating the chicken, make sure it is properly cleaned and pat dry with paper towels. Remove any excess fat or giblets from the cavity and trim off any excess skin. This will ensure that the marinade penetrates the meat effectively.
3. Marinate the Chicken
Place the whole chicken in a large sealable bag or a marinating container. Pour the marinade over the chicken, making sure it coats all sides. Seal the bag tightly or cover the container, then refrigerate for at least 2 hours or overnight. This allows the flavors to penetrate the chicken, resulting in a more flavorful and tender end product.
4. Preparing the Ninja Foodi Air Fryer
Before cooking the marinated chicken, preheat your Ninja Foodi Air Fryer according to the manufacturer’s instructions. This will ensure that the chicken cooks evenly and reaches the desired internal temperature.
5. Cook the Marinated Chicken
Once the Ninja Foodi Air Fryer is preheated, remove the marinated chicken from the refrigerator. Carefully place the whole chicken into the air fryer basket or on the air fryer tray. Close the lid and select the appropriate cooking setting and time based on the recipe instructions.
It is important to check the internal temperature of the chicken using a meat thermometer to ensure it is fully cooked. The chicken should reach an internal temperature of 165°F (74°C) for safe consumption.
Once the chicken is cooked, carefully remove it from the Ninja Foodi Air Fryer and let it rest for a few minutes. This allows the juices to redistribute, resulting in a moist and tender chicken. Serve the marinated whole chicken with your favorite side dishes and enjoy!
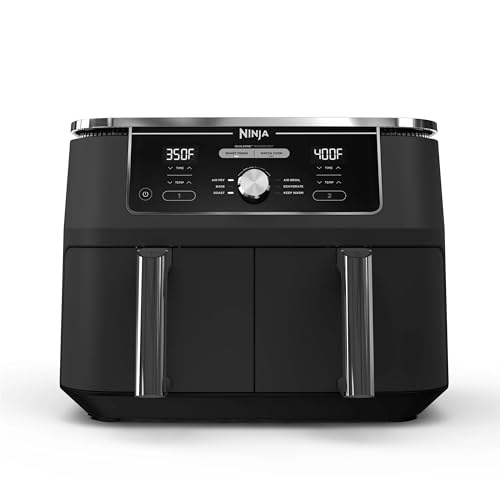
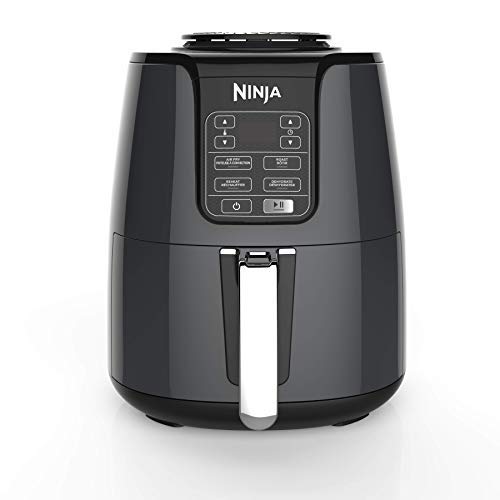
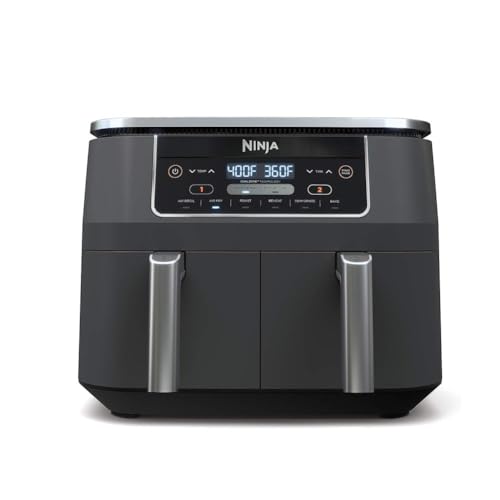
Setting Up the Ninja Foodi Air Fryer
Before you start cooking your whole chicken in the Ninja Foodi Air Fryer, it’s important to properly set up and prepare the appliance. Follow these steps to ensure a successful cooking process:
1. Read the User Manual
Before using the Ninja Foodi Air Fryer for the first time, it is essential to read the user manual carefully. Familiarize yourself with the different parts and functions of the appliance to ensure correct usage and optimal performance. Make sure you understand all safety precautions and guidelines.
2. Clean the Air Fryer
Prior to cooking, it is crucial to clean the Ninja Foodi Air Fryer to remove any dust or residues that may be present from the manufacturing process. Clean the inner pot, cooking basket, and any other removable parts with warm soapy water, rinse thoroughly, and dry completely before reassembling. Wipe down the exterior of the appliance with a damp cloth.
3. Place the Air Fryer
Choose a suitable location for your Ninja Foodi Air Fryer. Ensure that there is enough space around the appliance for proper ventilation and airflow. Avoid placing it too close to walls, cabinets, or other heat-sensitive materials. The air fryer should be positioned on a stable, heat-resistant surface.
4. Plug In the Air Fryer
Once the air fryer is properly positioned, plug it into a grounded electrical outlet. Make sure the power cord is securely connected and that there are no loose or damaged parts. Avoid using extension cords or power strips for safety reasons.
5. Familiarize Yourself With the Control Panel
Take a moment to understand the control panel of the Ninja Foodi Air Fryer. Familiarize yourself with the different buttons and functions available. This will help you navigate through the cooking settings and ensure that you select the correct options for your whole chicken recipe.
Now that your Ninja Foodi Air Fryer is properly set up, you’re ready to start cooking your delicious whole chicken. Follow the remaining instructions in this guide to achieve a perfectly crispy and juicy result.
Instructions for Setting Up the Appliance for Cooking
Before you start cooking a whole chicken in your Ninja Foodi Air Fryer, it’s important to properly set up the appliance to ensure it functions correctly. Follow these instructions to get your Ninja Foodi Air Fryer ready for cooking:
-
Place the Ninja Foodi Air Fryer on a stable and heat-resistant surface.
-
Plug the power cord into a grounded outlet and ensure the appliance is turned off.
-
Remove any packaging material and make sure the cooking pot and accessories are clean. Wash them with warm, soapy water before using for the first time.
-
Assemble the cooking pot by inserting it into the base of the appliance. Ensure it is securely in place.
-
Insert the reversible rack into the cooking pot, making sure it sits evenly.
-
Attach the pressure lid to the Ninja Foodi Air Fryer by aligning the arrows on the lid and base. Twist the lid clockwise until it locks into place.
-
Make sure the pressure release valve is in the SEAL position before cooking.
-
Double-check all the components to ensure they are properly assembled and secured.
Once you have completed these setup instructions, you are now ready to start cooking a delicious whole chicken in your Ninja Foodi Air Fryer!
Cooking the Whole Chicken
Preparing and cooking a whole chicken in the Ninja Foodi Air Fryer is incredibly easy and results in juicy, flavorful meat. Here’s a step-by-step guide to help you achieve the perfect whole chicken:
1. Season the chicken: Start by rinsing the chicken under cold water and pat it dry with paper towels. This helps remove any excess moisture and ensures the seasonings adhere well. Season the chicken generously with salt, pepper, and your choice of herbs or spices for added flavor.
2. Preheat the Ninja Foodi Air Fryer: Plug in the Air Fryer and select the “Air Fry” function. Preheat it to 400°F (200°C) for a few minutes. Preheating ensures that the chicken cooks evenly and develops a crispy skin.
3. Place the chicken in the Air Fryer: Once preheated, open the Air Fryer basket and place the seasoned chicken inside, breast side up. Ensure that the chicken is not overcrowded and has enough space for the air to circulate around it.
4. Set the cooking time: Close the Air Fryer lid and set the cooking time to approximately 20 minutes per pound of chicken. For example, if you are cooking a 4-pound chicken, set the timer for approximately 80 minutes. Cooking times may vary slightly depending on the size and type of chicken you are using.
5. Monitor the cooking process: During the cooking process, periodically check the internal temperature of the chicken using a meat thermometer. The chicken is safe to eat when it reaches an internal temperature of 165°F (75°C).
6. Rest and serve: Once the chicken is fully cooked, carefully remove it from the Air Fryer and let it rest for 5-10 minutes before carving. This allows the juices to distribute evenly, resulting in moist and tender meat. Serve the chicken with your favorite sides and enjoy!
Using the Ninja Foodi Air Fryer to cook a whole chicken is a convenient and time-saving method that produces delicious results. Experiment with different seasonings and spices to create flavorful variations of this classic dish. Happy cooking!
Steps to Cook the Chicken in Ninja Foodi Air Fryer
Preparing a whole chicken in the Ninja Foodi Air Fryer is a convenient and flavorful way to enjoy a delicious meal. Follow these steps to cook the chicken perfectly:
- Start by preheating your Ninja Foodi Air Fryer to the recommended temperature for cooking poultry. This ensures that the chicken cooks evenly and thoroughly.
- While the air fryer is preheating, prepare the chicken by removing any giblets or excess fat from the cavity. Then rinse the chicken thoroughly and pat it dry with paper towels.
- Season the chicken with your desired herbs and spices, making sure to cover both the outside and the cavity. This will enhance the flavor of the chicken while it cooks.
- Place the chicken in the air fryer basket, breast side down. This allows the juices to flow through the chicken, keeping it moist and tender.
- Set the timer based on the weight of the chicken and the recommended cooking time for poultry. Make sure to adjust the time and temperature settings if needed.
- Once the timer goes off, carefully flip the chicken over using tongs or oven mitts. This ensures that both sides of the chicken are evenly cooked.
- Continue cooking the chicken for the remaining time as per the recipe or until the internal temperature reaches 165°F (74°C). This ensures that the chicken is fully cooked and safe to eat.
- Once the chicken is cooked, remove it from the air fryer and let it rest for a few minutes. This allows the juices to redistribute and ensures that the chicken remains juicy and flavorful.
Now your perfectly cooked whole chicken is ready to be served. Slice and enjoy it with your favorite sides and sauces!
FAQ
What is the Ninja Foodi Air Fryer?
The Ninja Foodi Air Fryer is a versatile kitchen appliance that combines the functions of an air fryer and a pressure cooker. It has a large capacity and can cook a variety of foods, including whole chickens.
How long does it take to cook a whole chicken in the Ninja Foodi Air Fryer?
The cooking time for a whole chicken in the Ninja Foodi Air Fryer can vary depending on the size of the chicken, but it typically takes about 45-60 minutes. It’s important to use a meat thermometer to ensure that the chicken reaches a safe internal temperature of 165°F (74°C).
What is the best temperature to cook a whole chicken in the Ninja Foodi Air Fryer?
The recommended temperature to cook a whole chicken in the Ninja Foodi Air Fryer is 400°F (200°C). This high temperature helps to ensure crispy skin and juicy meat. However, it’s important to adjust the cooking time based on the size of the chicken to ensure it is cooked through.
Can I season the chicken before cooking it in the Ninja Foodi Air Fryer?
Yes, you can season the chicken before cooking it in the Ninja Foodi Air Fryer. You can use a variety of seasonings, such as salt, pepper, garlic powder, paprika, or any other herbs and spices you prefer. Simply rub the seasonings onto the chicken before placing it in the Air Fryer.