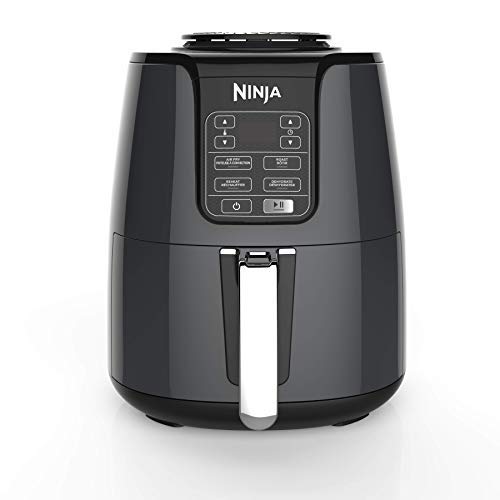
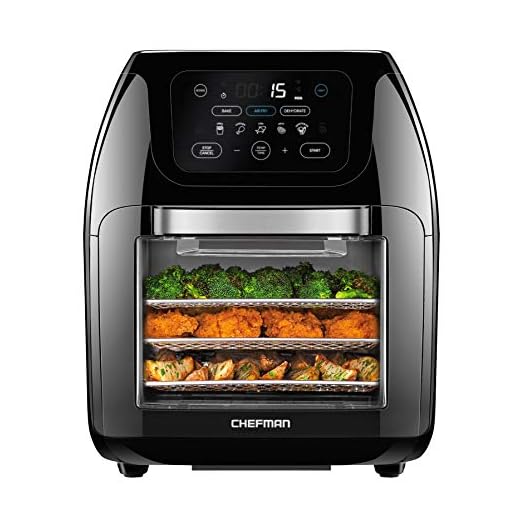
Craving for a crispy and juicy chicken breast? Look no further! With an air fryer, you can easily achieve the perfect texture and flavor without the need for excessive oil. Whether you are a health-conscious individual or simply want to indulge in a guilt-free treat, this cooking method will not disappoint.
The secret to making chicken breast crispy in an air fryer lies in the unique combination of hot air circulation and minimal oil usage. By utilizing this innovative appliance, you can enjoy a golden, crunchy exterior while preserving the meat’s moisture and tenderness. Say goodbye to soggy and greasy chicken breasts forever!
To ensure the desired result, it is important to follow a few simple steps. Firstly, preheat your air fryer to the recommended temperature. This will create the ideal cooking environment and allow the chicken breast to cook evenly. Next, season the chicken with your favorite herbs and spices. Whether you prefer a classic blend of salt and pepper or a more adventurous flavor profile, the choice is yours! Don’t forget to drizzle a small amount of oil to enhance the crispiness.
Once your chicken breast is seasoned to perfection, place it in the air fryer basket. Make sure to leave enough space between the pieces to promote proper air circulation. Cook the chicken at the recommended time and temperature, flipping halfway through to achieve an even crust. Finally, let the chicken rest for a few minutes before serving, allowing the flavors to meld together and the juices to redistribute.
With these simple steps, you can create a mouthwatering and crispy chicken breast in your air fryer. Serve it alongside your favorite side dishes or use it as a filling for sandwiches and salads. Regardless of how you enjoy it, this dish is sure to become a staple in your kitchen. So dust off your air fryer and get ready to embark on a flavor-packed culinary adventure!
Preparation for Air Frying Chicken Breast
Before air frying your chicken breast to achieve the perfect crispy texture, it’s essential to properly prepare the chicken. Follow these steps for delicious results:
1. Choose Quality Chicken:
Start with high-quality chicken breast. Look for fresh or organic chicken breast without any additives or preservatives. This will ensure a more delicious and healthier end result.
2. Trim and Pound:
Trim any excess fat from the chicken breast and remove the skin if desired. Use a meat mallet or the bottom of a heavy pan to pound the chicken breast to an even thickness. This will help the chicken cook evenly and prevent dryness.
3. Seasoning:
Season the chicken breast with your preferred seasoning. You can use a simple mixture of salt, pepper, and garlic powder, or get creative with different herbs and spices. Allow the seasoning to penetrate the chicken by letting it marinate for at least 30 minutes before air frying.
4. Preheat the Air Fryer:
Preheat your air fryer to the recommended temperature for chicken. This will ensure even cooking and a crispy exterior. Preheating usually takes around 3-5 minutes depending on your air fryer model.
5. Lightly Coat with Oil:
To achieve that crispy texture, lightly coat the chicken breast with a thin layer of oil. You can use olive oil, avocado oil, or any other oil with a high smoke point. This will help the chicken brown and crisp up during air frying.
6. Arrange in the Air Fryer Basket:
Place the seasoned and oiled chicken breast in a single layer in the air fryer basket. Make sure there is enough space between the chicken pieces for proper air circulation. Avoid overcrowding the basket, as it can result in uneven cooking.
7. Air Fry:
Set the air fryer to the recommended time and temperature for chicken breast. Cook the chicken until the internal temperature reaches 165°F (74°C), and the exterior is golden brown and crispy. Flip the chicken halfway through the cooking time to ensure even browning.
Now that you know how to prepare your chicken breast for air frying, you’re ready to enjoy a delicious and crispy meal. Serve with your favorite sides or use the air-fried chicken breast in sandwiches or salads.
Choosing the Right Chicken Breast
When it comes to making crispy chicken breasts in an air fryer, choosing the right cut of meat is essential. Here are a few factors to consider when selecting chicken breasts:
Freshness
Always opt for fresh chicken breasts rather than frozen ones. Fresh chicken will have better texture and flavor, resulting in a more delicious crispy coating.
Skin-On or Skinless
Decide whether you want to use skin-on or skinless chicken breasts. Skin-on breasts can provide extra flavor and crispiness, but they also add more fat to the dish. On the other hand, skinless breasts are leaner and healthier, but they may lack some of the crispy texture.
Bone-In or Boneless
Consider whether you prefer bone-in or boneless chicken breasts. Bone-in breasts tend to be more flavorful and moist, but they require longer cooking times. Boneless breasts cook faster and are easier to portion, but they may be slightly drier.
Ultimately, the choice between skin-on or skinless, and bone-in or boneless chicken breasts depends on your personal preference and dietary needs. Whichever option you choose, ensure that the chicken breasts are of high quality, as this will greatly impact the final result of your crispy air-fried chicken.
Marinating the Chicken Breast
To achieve a crispy and flavorful chicken breast in the air fryer, marinating is key. Marinating allows the chicken to absorb the flavors and tenderize the meat. Here’s how you can marinate the chicken breast:
- Choose your marinade: You can use a variety of marinades to add flavor to your chicken breast. Some popular options include lemon garlic, teriyaki, or BBQ sauce. Feel free to get creative and experiment with different flavors.
- Tenderize the chicken: Before marinating, it’s a good idea to tenderize the chicken breast. You can do this by pounding it gently with a meat mallet or back of a spoon. This will help break down the fibers of the meat and make it more tender.
- Place the chicken breast in a ziplock bag: Transfer the chicken breast to a ziplock bag or a shallow dish that can be covered. This will make it easier to evenly coat the chicken with the marinade.
- Add the marinade: Pour the marinade over the chicken breast, making sure it is completely covered. If using a ziplock bag, press out any excess air and seal it tightly. If using a dish, cover it with plastic wrap.
- Marinate for at least 30 minutes: Allow the chicken breast to marinate in the refrigerator for at least 30 minutes, or up to overnight. The longer it marinates, the more flavorful the chicken will be.
Note: It’s important to discard any leftover marinade that has come into contact with raw chicken to avoid cross-contamination. Never reuse marinade that has been used for raw chicken.
Coating the Chicken Breast
Coating the chicken breast is an essential step in achieving a crispy texture in the air fryer. Here are a few different coating options to consider:
1. Breadcrumbs: Dip the chicken breast in beaten egg, then coat it with breadcrumbs. You can use regular breadcrumbs or seasoned ones for added flavor.
2. Panko: Panko breadcrumbs are larger and flakier, which can result in an even crispier coating. Dip the chicken breast in beaten egg, then coat it with panko breadcrumbs.
3. Flour and seasoning: Mix flour with your favorite seasonings such as salt, pepper, garlic powder, and paprika. Dip the chicken breast in beaten egg, then coat it with the flour mixture.
4. Cornmeal: For a Southern-style coating, dip the chicken breast in beaten egg, then coat it with cornmeal. The cornmeal will add a unique crunch to the chicken.
Make sure to fully coat the chicken breast, pressing the coating gently to adhere to the chicken. This will ensure an even and crispy texture once cooked.
Creating the Crispy Coating
To achieve a crispy coating on your chicken breast in the air fryer, you’ll need to follow these steps:
- Start by combining your desired dry seasoning mix in a bowl. This can include ingredients like salt, pepper, garlic powder, onion powder, paprika, and any other seasonings you prefer.
- Take your chicken breast and pat it dry with a paper towel. This helps remove any excess moisture and allows the seasonings to adhere better.
- Dip the chicken breast into the dry seasoning mix, making sure to coat all sides. Gently press the seasoning onto the chicken to ensure it sticks.
- Next, you’ll need to create a breading mixture for added crispiness. In a separate bowl, combine breadcrumbs with more of your desired seasoning mix.
- Dip the seasoned chicken breast into the breadcrumb mixture, pressing firmly to ensure an even coating.
- Repeat the process for a double coating, if desired. This will create an extra crunchy crust.
Once you’ve finished coating the chicken breast, it’s ready to go into the air fryer. The crispy coating will turn golden brown and crunchy as it cooks, giving you a deliciously crispy chicken breast with minimal oil.
Applying the Coating to the Chicken Breast
Once you have prepared your chicken breast, it’s time to coat it with a delicious, crispy exterior. The coating will not only add flavor to the chicken, but it will also help to achieve that satisfying crunch in every bite.
Here’s a simple and effective method for applying the coating:

- Season the chicken: Before applying the coating, make sure to season your chicken breast with salt and pepper. This will enhance the overall flavor of the dish.
- Prepare the coating mixture: In a bowl, combine breadcrumbs, desired herbs and spices, and a pinch of salt and pepper. You can also add some grated Parmesan cheese for extra flavor.
- Dip the chicken in egg wash: In a separate bowl, beat an egg and add a splash of milk. Dip each chicken breast into the egg mixture, making sure it is fully coated.
- Coat the chicken with breadcrumbs: After dipping the chicken in the egg wash, transfer it to the breadcrumb mixture. Use your hands to press the breadcrumbs onto the chicken, ensuring an even coating.
- Let the coating set: Once the chicken breasts are coated, place them on a plate and let them sit for a few minutes. This will allow the coating to adhere to the chicken.
Now that your chicken breast is coated and ready to go, it’s time to cook it in the air fryer. Follow the manufacturer’s instructions for cooking times and temperatures, and enjoy your crispy, flavorful chicken breast!
Air Frying Process
The air frying process is a quick and convenient way to make crispy chicken breasts. It involves using hot air circulation to cook the chicken, resulting in a crispy outside and juicy inside. The air fryer uses little to no oil, making it a healthier alternative to deep frying.
Preparation
Before you start the air frying process, it’s important to prep your chicken breasts. Begin by seasoning them with your favorite spices and herbs. You can use a simple salt and pepper mix, or get creative with flavors like garlic powder, paprika, or Italian seasoning.
Next, spray the chicken breasts with a light coating of cooking spray. This will help to enhance the crispy texture when air fried. Make sure to coat both sides of the chicken evenly.
Cooking
Now it’s time to start the air frying process. Preheat your air fryer to the recommended temperature for chicken, which is typically around 375°F (190°C).
Once the air fryer is preheated, place the chicken breasts in a single layer in the basket. Avoid overcrowding the basket, as this can prevent even cooking.
Close the air fryer and set the timer for the recommended cooking time. This will vary depending on the thickness of the chicken breasts, but a general guideline is around 15-20 minutes.
During the cooking process, you may choose to flip the chicken halfway through to ensure even crispness on both sides.
When the timer goes off, check the internal temperature of the chicken using a meat thermometer. The chicken is safe to eat when it reaches an internal temperature of 165°F (74°C).
Once the chicken is cooked and reaches the desired internal temperature, remove it from the air fryer and let it rest for a few minutes before serving. This will help to lock in the juices and keep the chicken moist.
Now you can enjoy your crispy and delicious air-fried chicken breasts!
FAQ
What is an air fryer?
An air fryer is a kitchen appliance that uses hot air circulation to cook food, giving it a crispy texture similar to deep frying but with significantly less oil.
Why should I use an air fryer to make chicken breast crispy?
Using an air fryer to make chicken breast crispy is a healthier alternative to deep frying. It requires less oil and reduces the overall calorie content of the dish, while still achieving a deliciously crisp and juicy result.
What is the best way to make chicken breast crispy in an air fryer?
The best way to make chicken breast crispy in an air fryer is to coat the chicken in a thin layer of oil or marinade, season it with herbs and spices, and then cook it in the air fryer at a high temperature for the recommended time. The circulating hot air will help to create a crispy outer layer while keeping the inside juicy.
Can I use different seasonings to make chicken breast crispy in an air fryer?
Absolutely! You can experiment with different seasonings such as paprika, garlic powder, onion powder, cayenne pepper, or even a blend of herbs. The seasonings you choose will add flavour to the chicken and contribute to the crispy coating.